
OpenVPN - Creating a personal VPN
OpenVPN is a high-speed solution for encrypted connections between server and user, allowing you to protect personal data and bypass local site blocks
Purchasing the necessary plan with pre-installed OpenVPN
For this, we need to buy the necessary server in the desired location. In our case, it will be the basic plan SWEs-1 in Sweden:
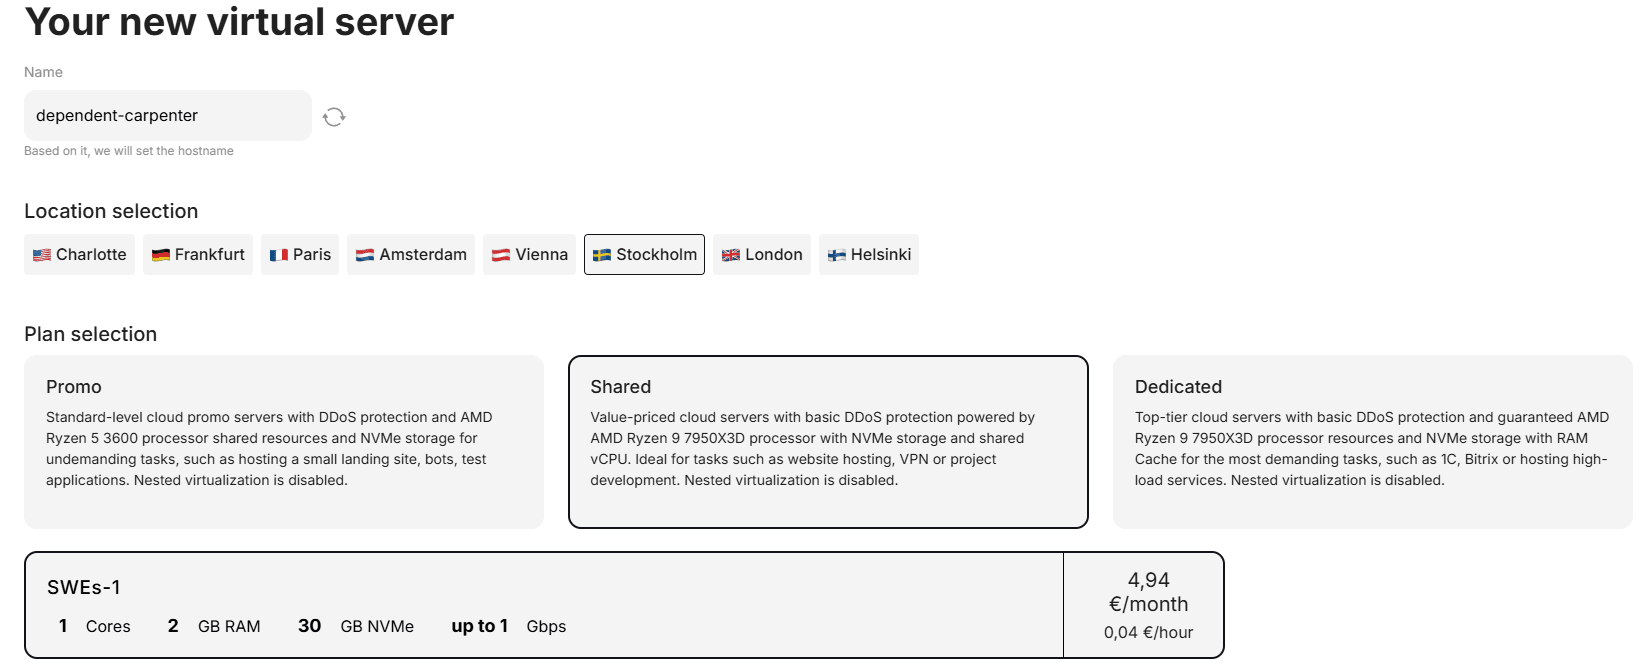
Go to the "Pre-installed Software" section:

Specify the OpenVPN Server package we need:

Set the desired rental period by hours or months and click the pay button:
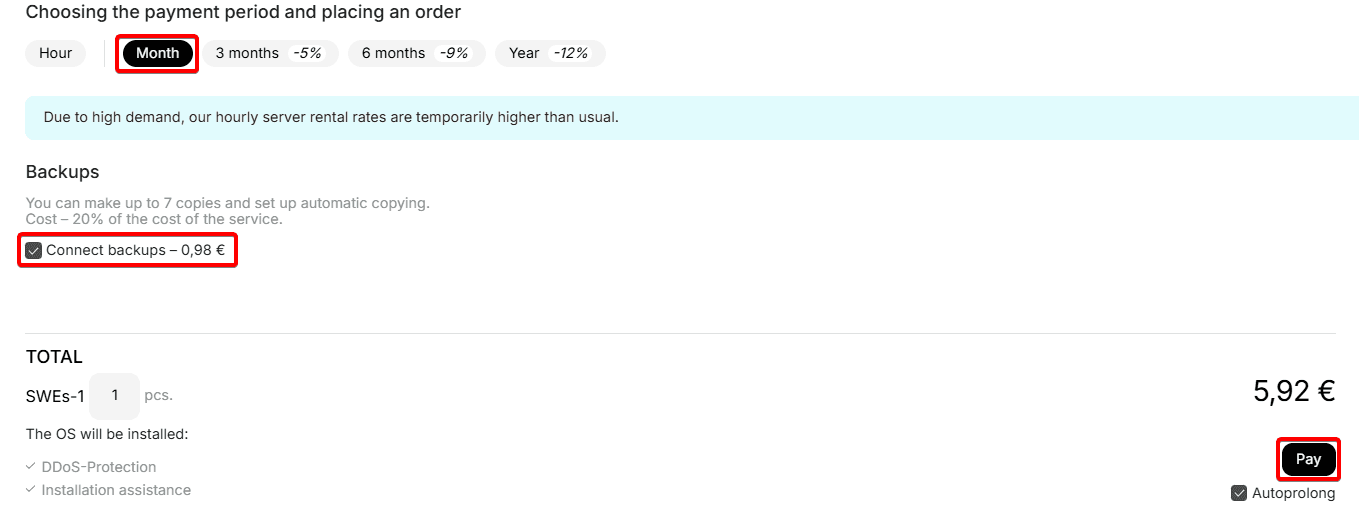
Now your server is ready to create a config for VPN connection. We will tell you about its creation in the "Creating connection config" section
Reinstalling an existing server by installing the OpenVPN script:
Let's go to the services section and click the colon icon to the right of the already purchased server, select reinstall
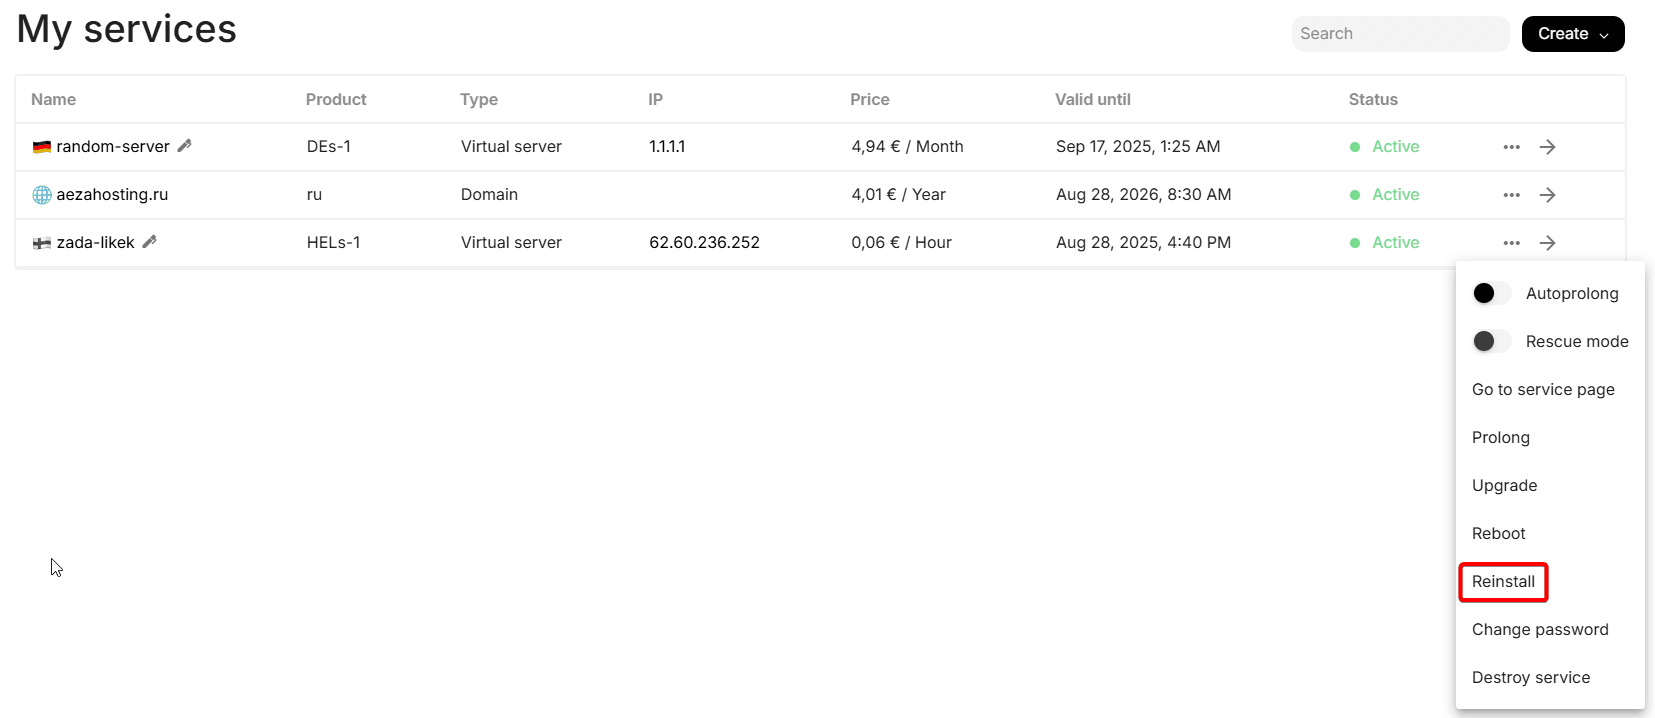
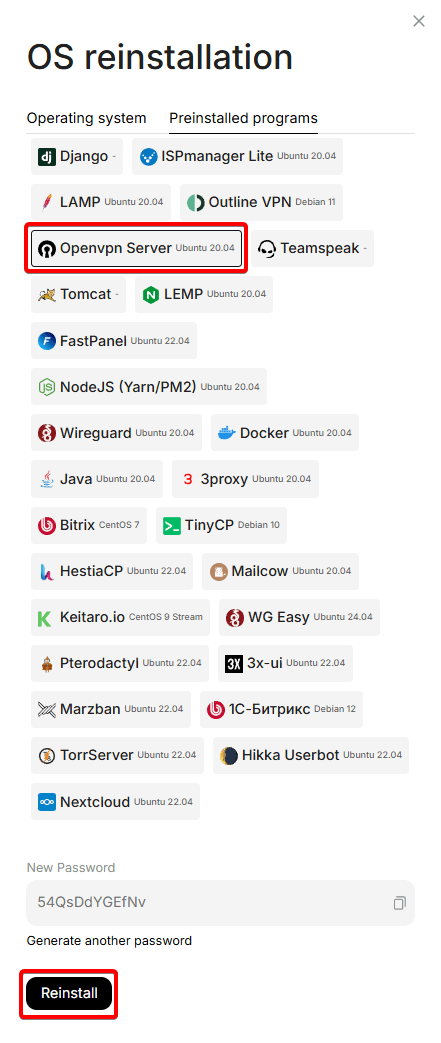
You will see this menu, where we will go to the "Pre-installed Software" tab.
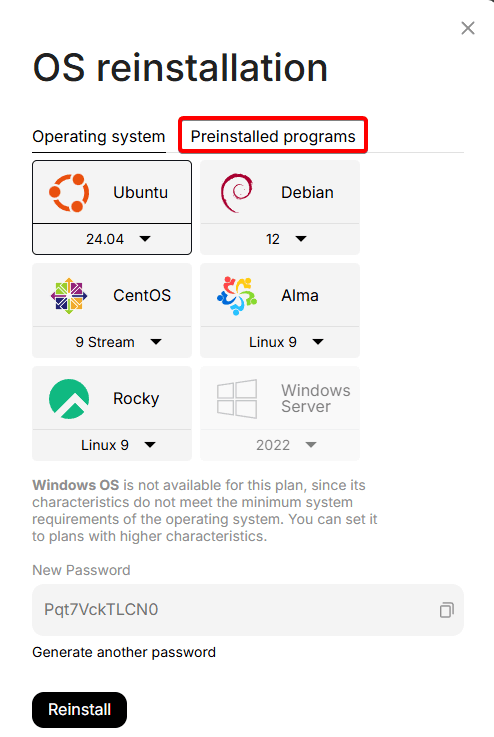
Select the script OpenVPN, copy the new password from the server, click reinstall
The OS will be reinstalled according to the specified OS in the preinstalled software script, in this case Ubuntu 22.04 + OpenVPN will be installed
Great. Now the OS on the server will be reinstalled with the installation of the OpenVPN script, after which the server will be ready to configure the panel and create a connection configuration. We will talk about this in detail ** in the next section.**
You can also contact support for help installing this software.
Connection and downloading the configuration file
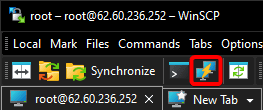
Connect to the server via WinSCP and login, password from the personal account, or letter from your email (in case of OS reinstallation).

After connection, click on the client.ovpn file and press F5, or right-click on it and download it with the "get" button:
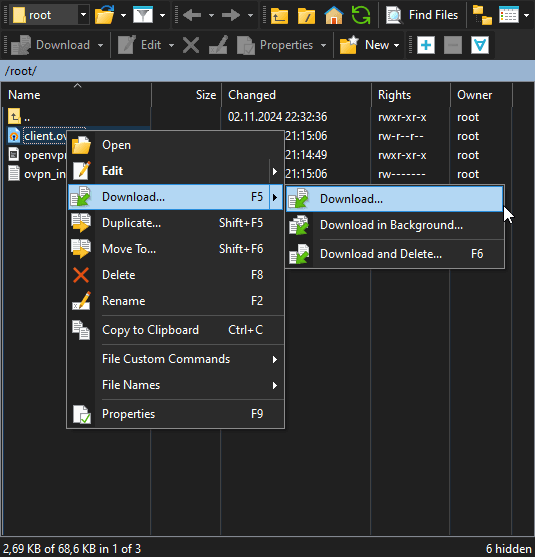
If this file is missing, try waiting 1-2 minutes and clicking the green refresh icon for the folder files in the upper right menu.
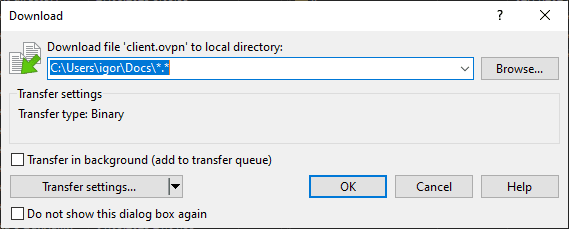
Select the folder where it will be downloaded and click "OK":
Downloading and connecting the OpenVPN client on PC
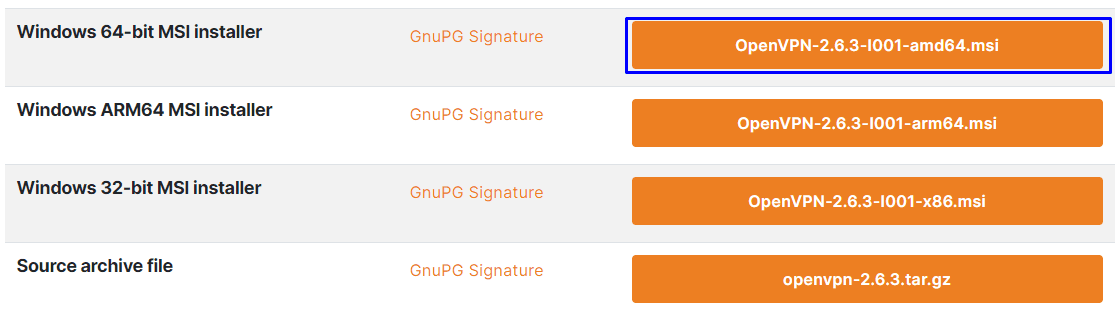
Download and install the OpenVPN client for PC from the official program website:
The download menu can be found at this link, scrolling down a bit
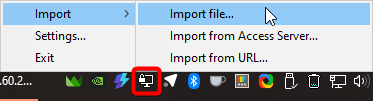
Launch the OpenVPN client, open the Windows tray (menu near system time) and right-click on the program icon. Import the config that we downloaded earlier:
Open the downloaded config file in the opened window:

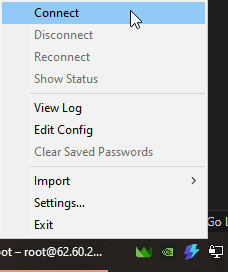
Open the Windows tray again and connect to the specified config:
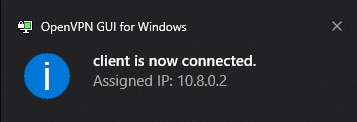
Congratulations! Now you can be calm about the security of your personal data and freely open website pages available to citizens of your virtual server location. Enjoy using!
Creating additional OpenVPN configs
In this section, we will consider creating additional profiles for connecting to OpenVPN for your relatives, friends, or other home devices.
Launch the server console through previously installed PuTTY and authorize in it:
Enter the command in the console:
/root/openvpn-config.sh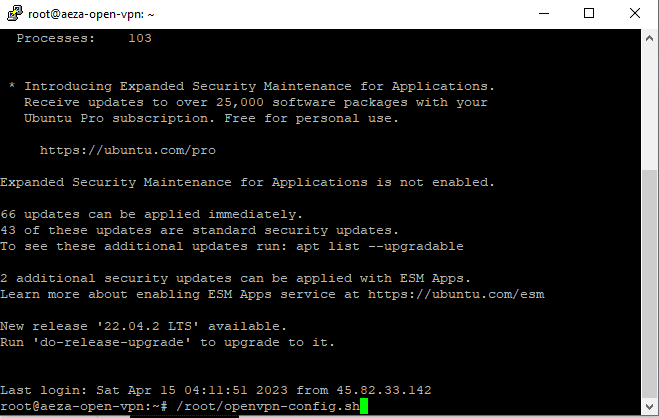
- Write number 1 (create a new user)
- Username (any)
- Number 1 to create a client without password (or 2 to enter VPN by password).
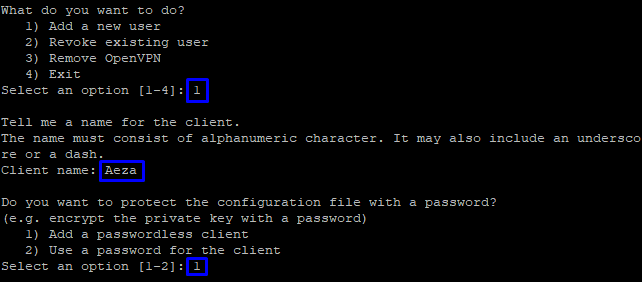
Done! The new config will be available for download in the folder: /root/. You can install it according to the instructions from the previous two sections.