
Installing MikroTik RouterOS (CHR) on a virtual server
Cloud Hosted Router is a version of Mikrotik RouterOS designed for deployment on virtual machines as a standalone operating system.
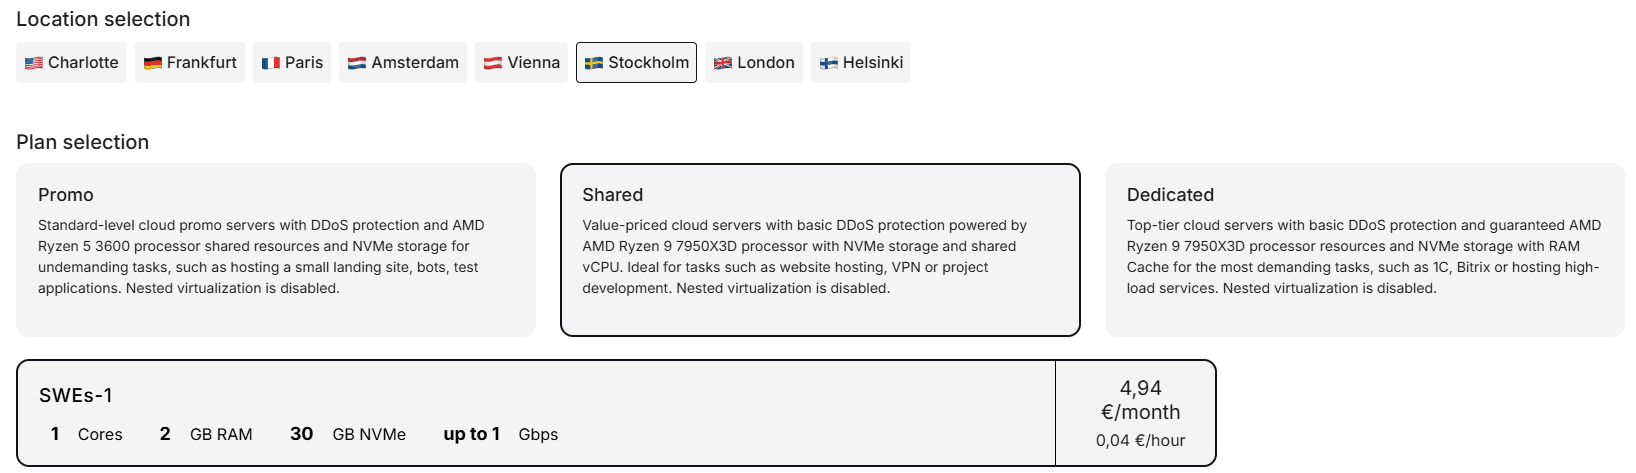
Installing Mikrotik CHR based on our cloud infrastructure is possible for any virtual server plan, including the minimum one with characteristics 1 CPU / 2 RAM / 30 GB NVMe
This article will consider an example of manual installation of the RouterOS cloud image using a virtual server based on the SWEs-1 plan
To start installing MikroTik CHR, you need to order a virtual server in our personal account:
As a test server, a SWEs-1 plan server in Sweden (Stockholm) location will be deployed.
When ordering the service, you also need to select CentOS 7 OS, in which work will be carried out for the direct further deployment of the CHR image.
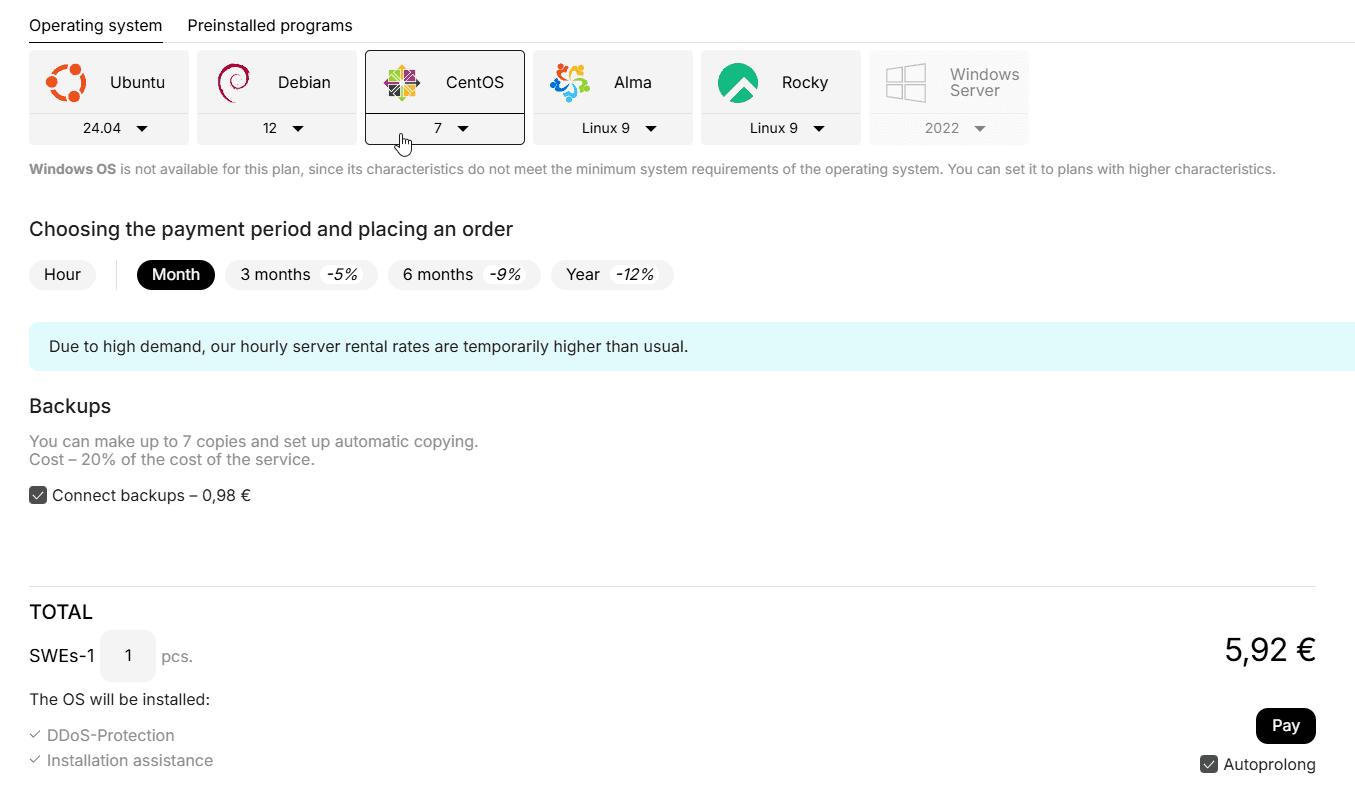
After ordering, the server will be activated within 120 seconds, then you can proceed to install MikroTik CHR according to the following instructions:
Connect to the server via SSH protocol using the connection data specified on the service page.
We recommend familiarizing yourself with the connection instruction
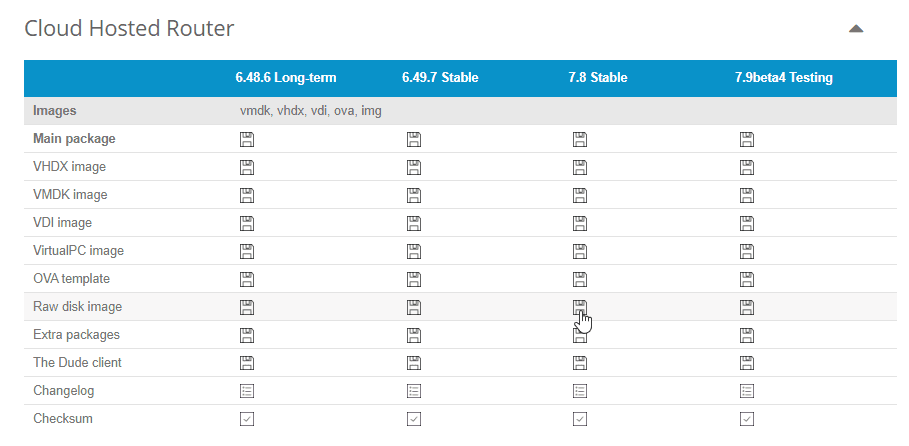
Download the required version of MikroTik CHR to the server from the official website at https://mikrotik.com/download (in the example, the latest stable version 7.8 at the moment will be considered):
You need to download the CHR edition marked as "Raw disk image"
- For this, we copy the disk image link from the site and get a direct link like
https://download.mikrotik.com/routeros/7.8/chr-7.8.img.zip
- Then download the image to the server using the command:
curl {LINK} --output chr.img.zipReplace {LINK} in the command with the copied link
After downloading the archived image to the server, we will unpack it with the command:
gunzip -c chr.img.zip > chr.imgThen write the unpacked image to the server's virtual disk using the dd utility:
dd if=chr.img of=/dev/vda bs=4M oflag=syncThe image is successfully written to disk, it remains only to reboot the server to initialize MikroTik CHR with commands:
echo 1 > /proc/sys/kernel/sysrq
echo b > /proc/sysrq-trigger
After executing the above commands, the MikroTik CHR OS will start working on your server.
The system is practically ready to work out of the box, but still requires some configuration, for example, you need to set an administrator password and conduct initial network configuration. These settings are considered below:
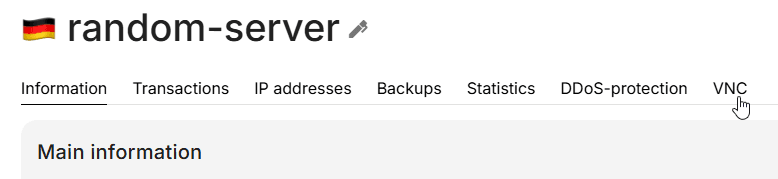
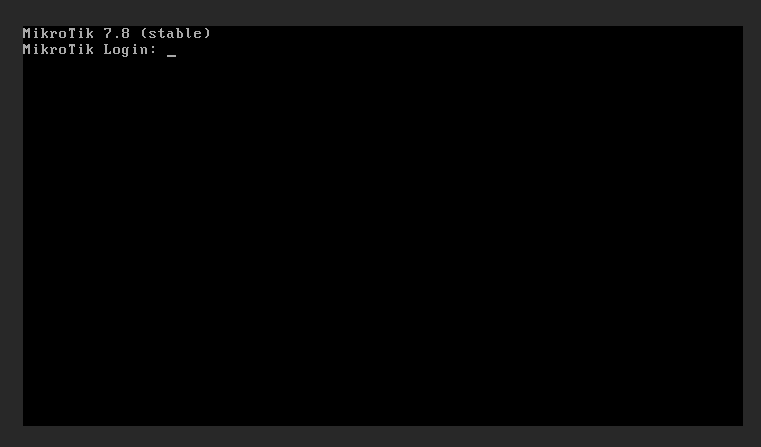
To access the system before the network was configured, we will use the VNC console:
In the VNC console, we will be greeted by a login prompt:
For login, we will use standard data:
- Login:
admin - Password:
no password (empty by default)
After successful login, the system will offer to familiarize yourself with the software license. It is necessary to accept the offer by pressing the Y key or refuse by pressing the N key.
Then the system will ask to change the default password for the admin user:
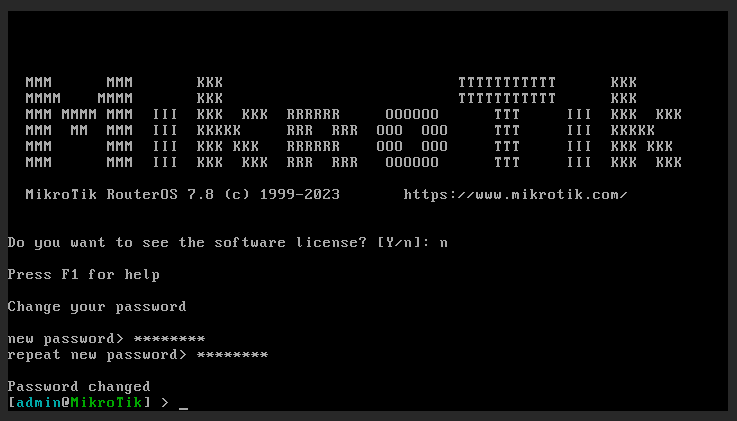
It is recommended to use randomly generated passwords containing at least 8 characters to protect the server from unauthorized access.
After the superuser password has been changed, we can start network configuration. All required network parameters (IP address, gateway and mask) are specified in the personal account on the service page (in the "IP Addresses" subsection):
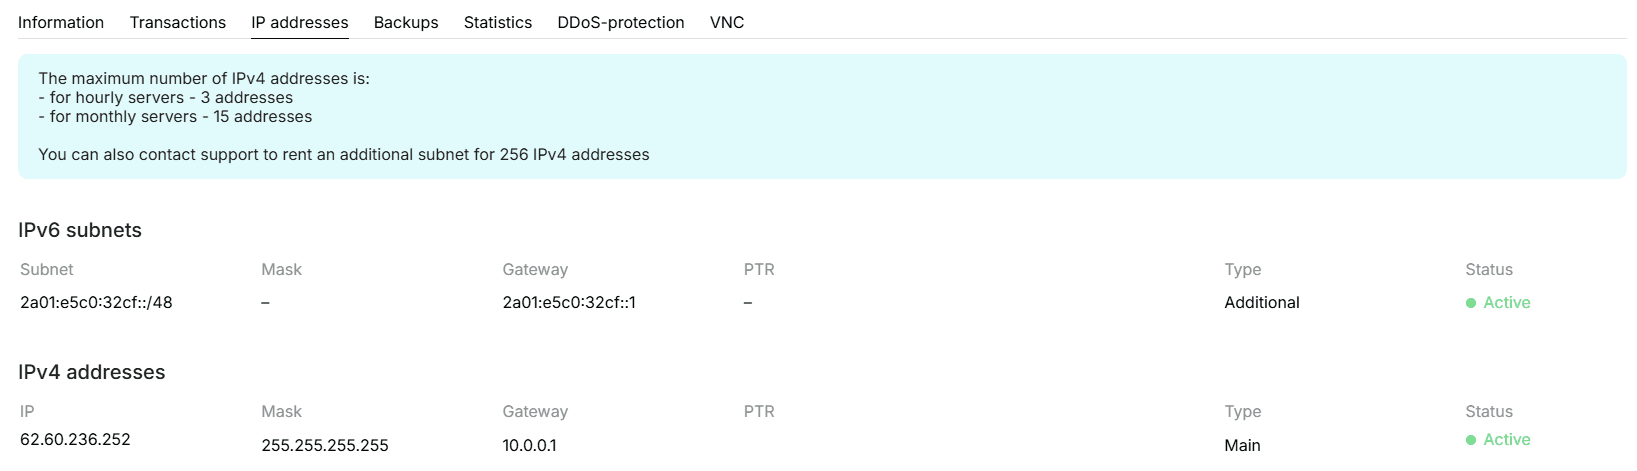
We will configure the network as follows:
/ip address add address=<IPv4>/32 network=<Gateway> broadcast=<IPv4> interface=ether1
/ip route add dst-address=0.0.0.0/0 gateway=<Gateway>
/ip dns set servers=1.1.1.1,8.8.8.8<IPv4>- IPv4 address of your server<Gateway>- Server gateway (default 10.0.0.1)
We will check the correctness of the configuration using the ping utility:

Here you can see that access to the external network is present and the requested resource responds to echo requests.
Done. The MikroTik CHR image is deployed on the virtual server and is completely ready for use.
Installing Keitaro
Keitaro is an economical and flexible tracker with many features and tools, popular among webmasters and arbitrageurs.
Installing Nginx
Nginx is web server software for dynamic processing of user requests, being a leader in its niche and used by major IT companies VKontakte, Google, Facebook and others.