
VPN service instructions
The "VPN" service allows you to provide secure and anonymous internet connection, as well as ensures high connection speed – up to 1 Gbps. In this instruction, we will tell you how to quickly and reliably deploy VPN on your computer or mobile device.
Creating and installing a VPN profile in a couple of minutes
Today we provide you with detailed instructions on using our "VPN" service.
Purchasing the "VPN" service
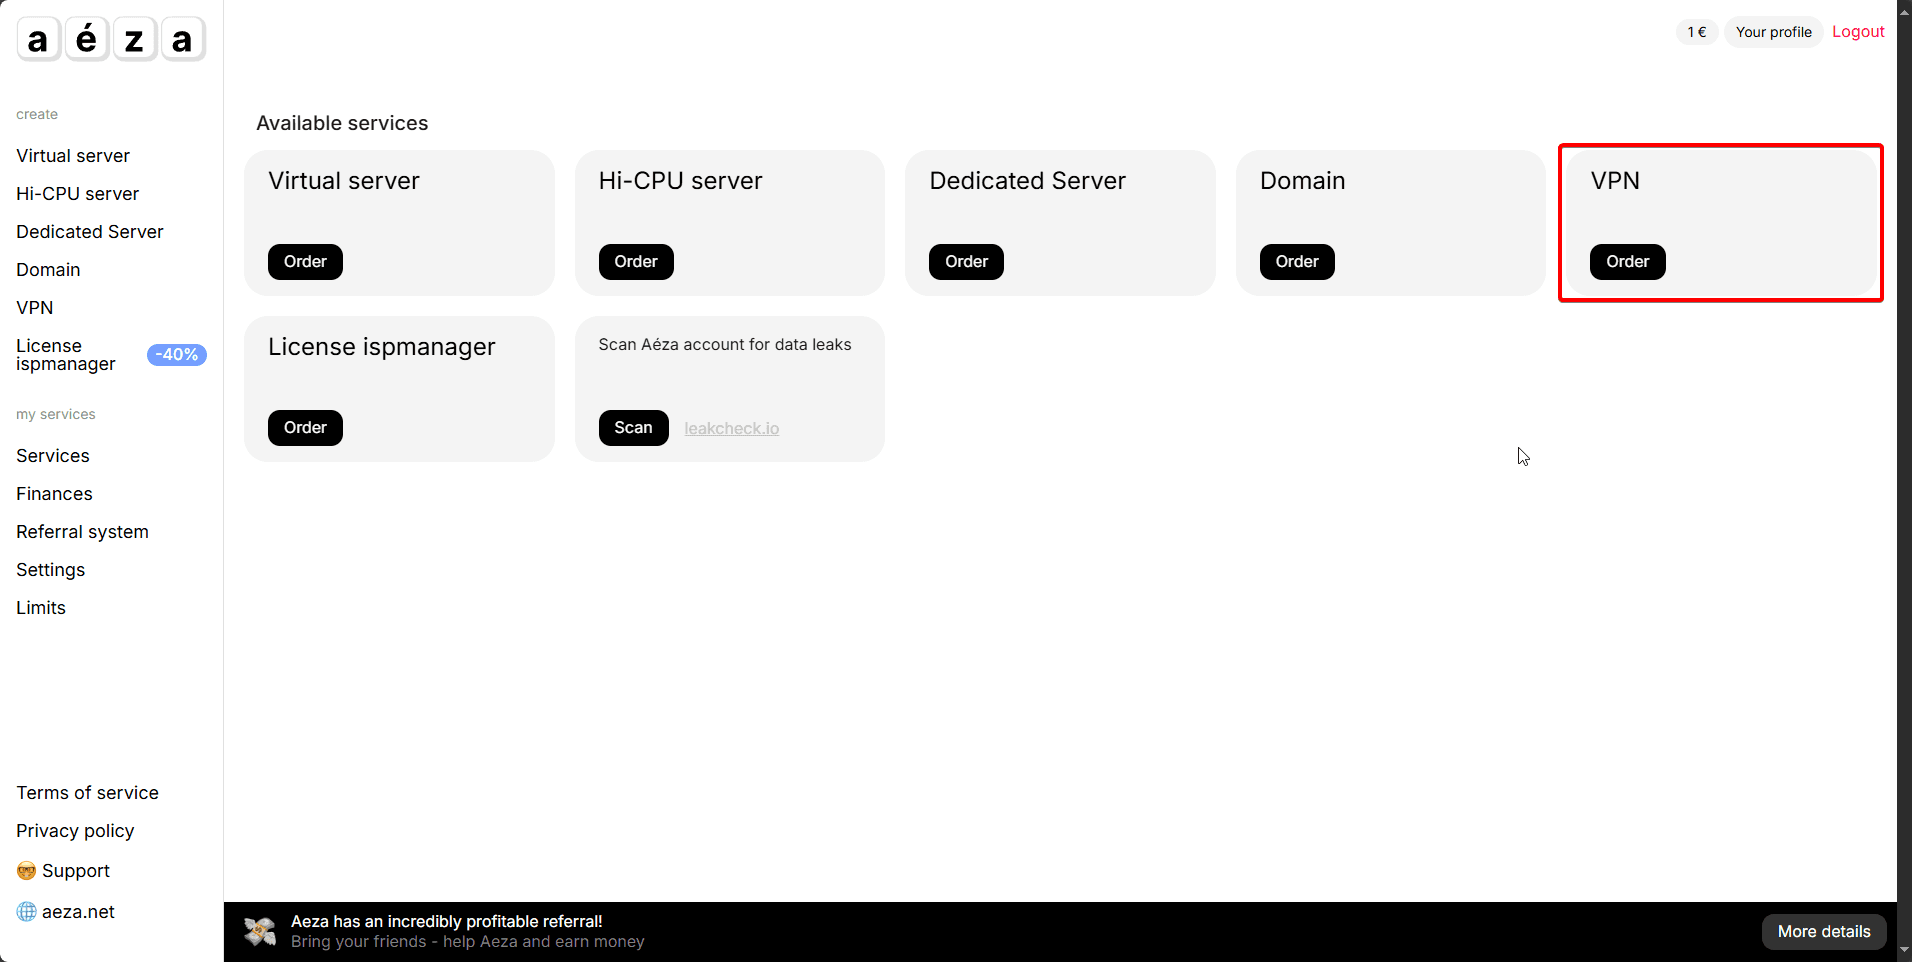
Go to the main page of the personal account and select VPN
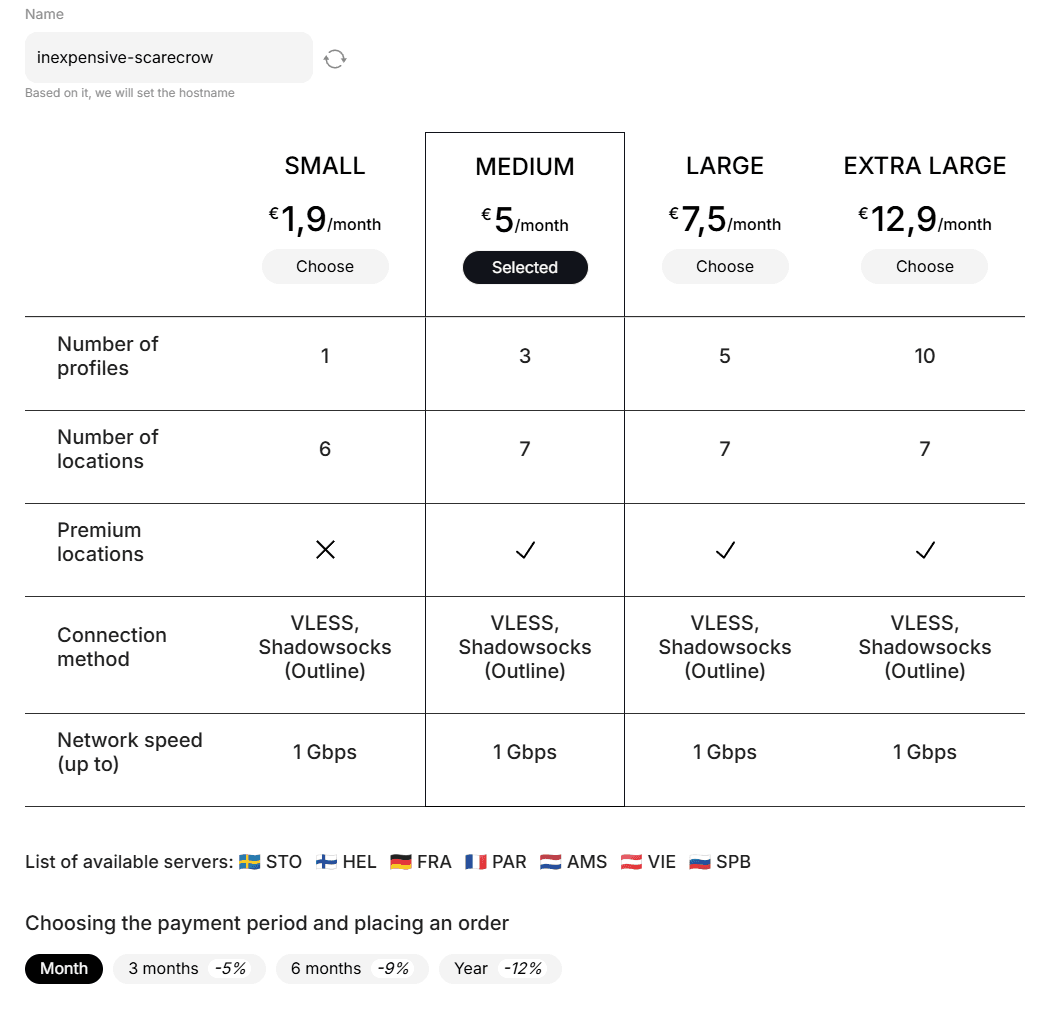
Then we go to the plan selection window, choose the plan you need and purchase it.
Also at the time of purchase, you can set the desired service name, choose the payment frequency and also familiarize yourself with available protocols and locations.
After purchasing the service, let's move on to the next point of our instruction.
Accessing the "VPN" service control panel
After logging into the personal account, go to the "My Services" section.
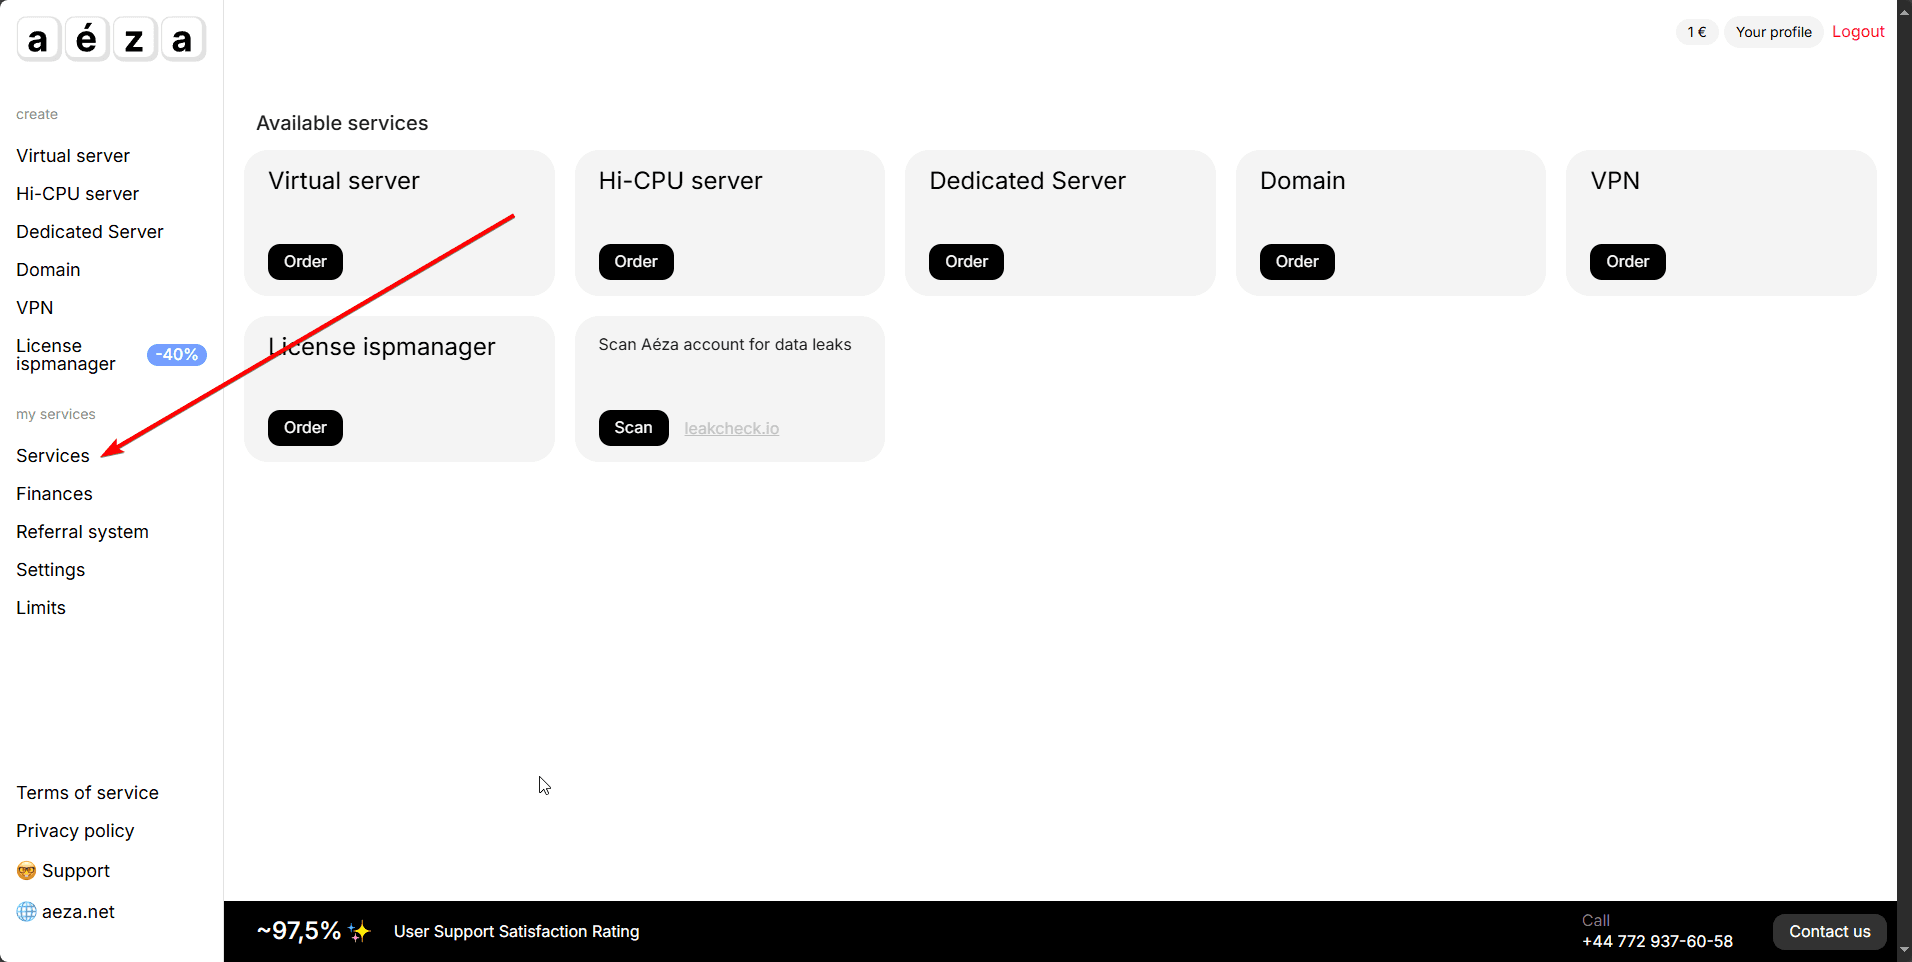
Open the "My Services" section and click on the "VPN" service name.

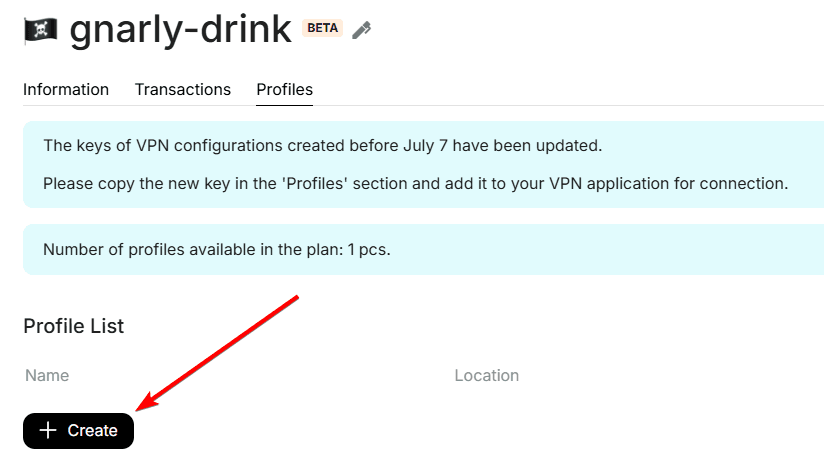
After going to your service page, find the "Profiles" section and go to it.
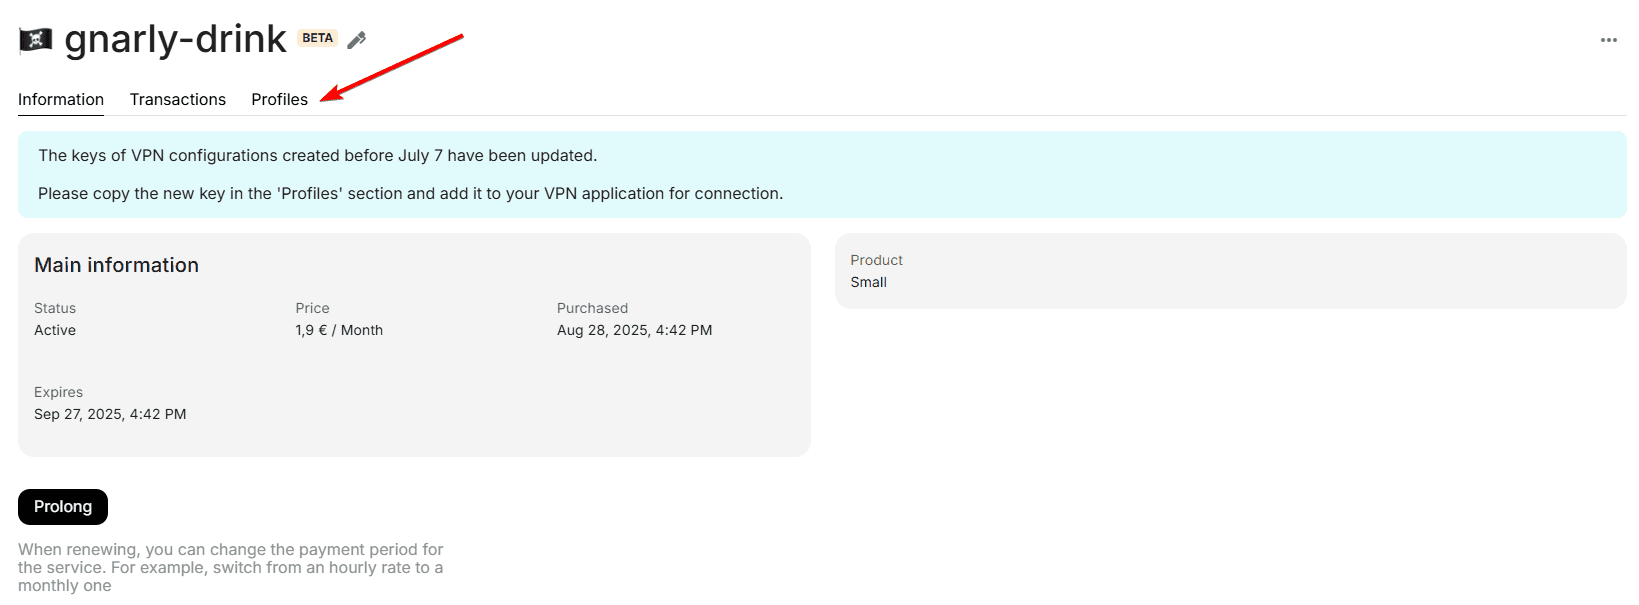
In the "Profiles" section, you will find detailed information about your service, as well as the number of available profiles. For each profile, you can set its name.
Let's move on to the next point of our instruction.
Creating and installing a profile in the "VPN" client
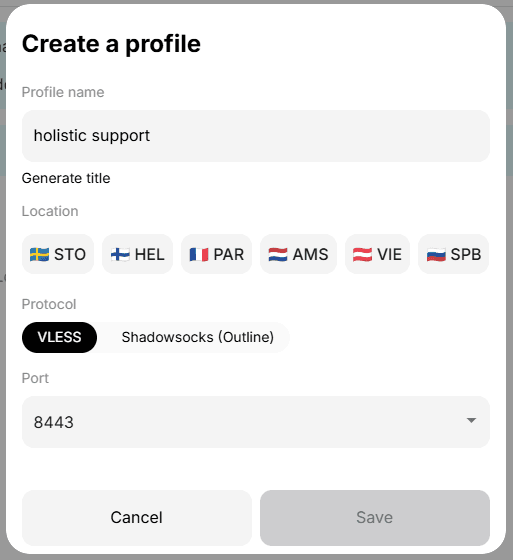
After selecting a profile, you will see a popup window where you can configure your profile on the selected location. Choose one of the two available VPN protocols: VLESS or Outline. Next, we will provide more detailed information about each of them.
VLESS and Shadowsocks
Let's consider creating a VLESS and Shadowsocks key and installing it on different devices.
For example, let's choose the St. Petersburg location, VLESS protocol, port 443, then click the save button.
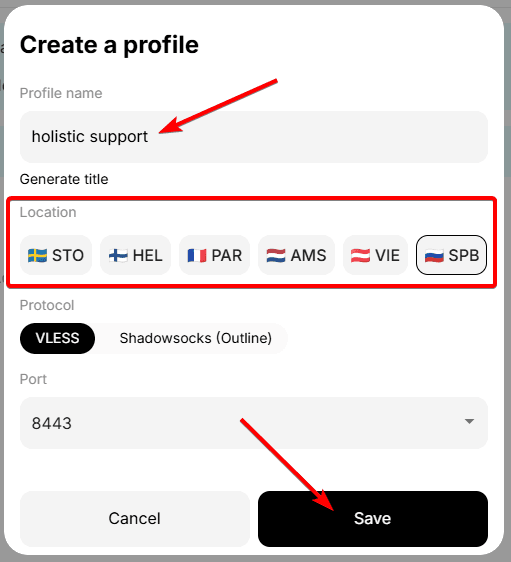
We observe successful key creation.

Open the connection link and copy the subscription link, we need it to import the configuration into the connection program.

You can learn about how to connect clients to the service in the next article
Setting up VLESS in 3x-ui
3X-UI is a convenient panel for creating connection configs to proxies of various protocols such as VLESS, VMESS, Trojan, Shadowsocks. In this instruction, we will consider connection via VLESS protocol.
Installing corporate messenger Conduwuit
Conduwuit is a well-maintained hard fork of Conduit with many new features, many bug fixes, and performance improvements.